Why Macro Photography Works in Forests
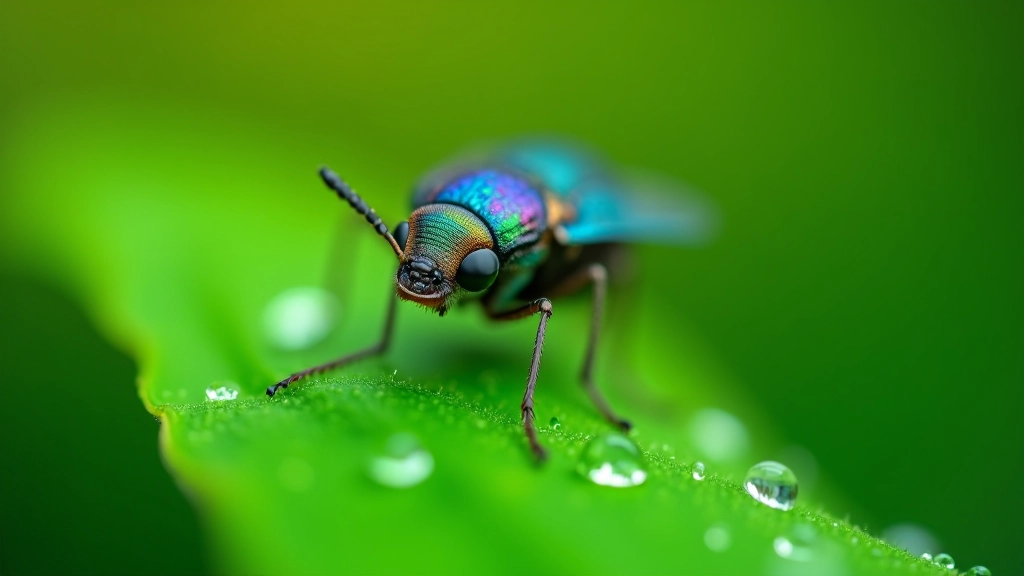
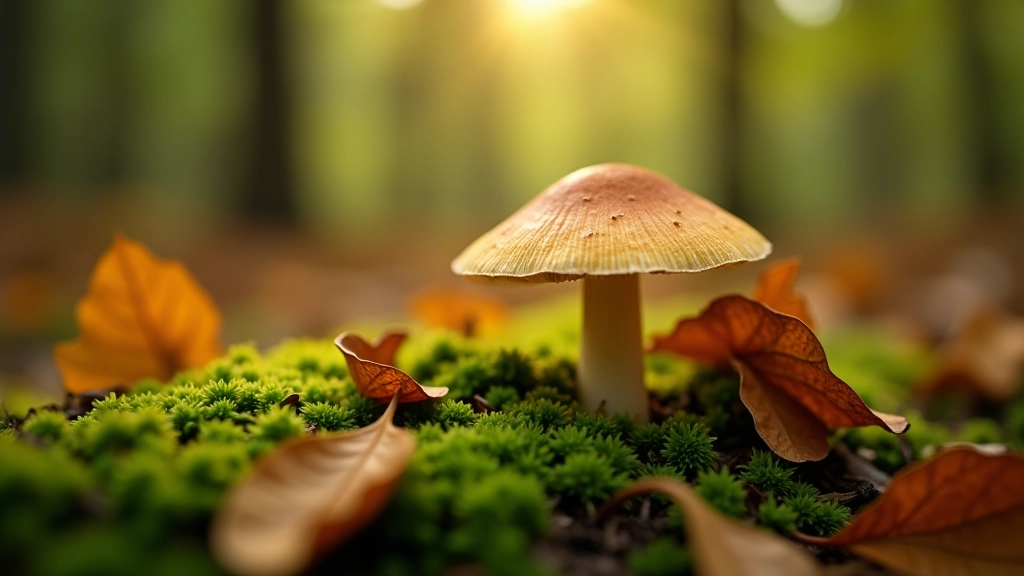
Forests aren’t just about wide landscapes. They’re absolutely packed with subjects that most people walk right past — dewdrops catching light, insects on leaves, tiny fungi pushing through moss. The thing about macro photography is it transforms the ordinary into something remarkable.
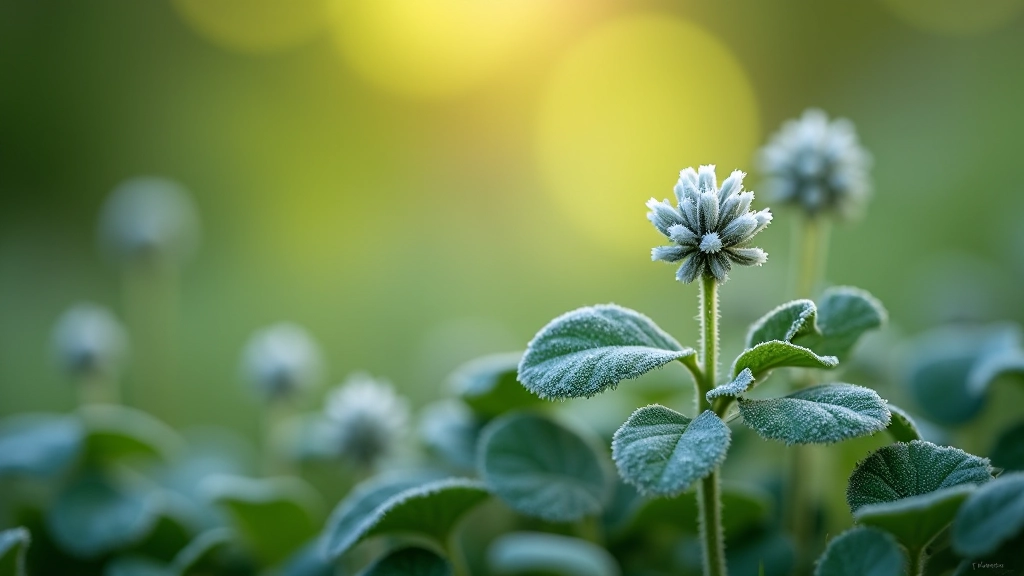
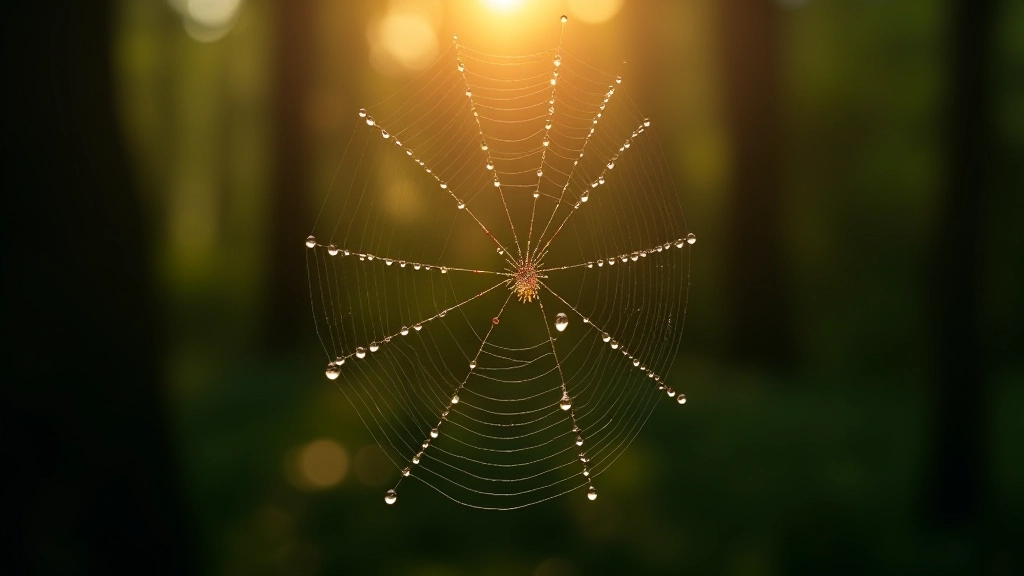
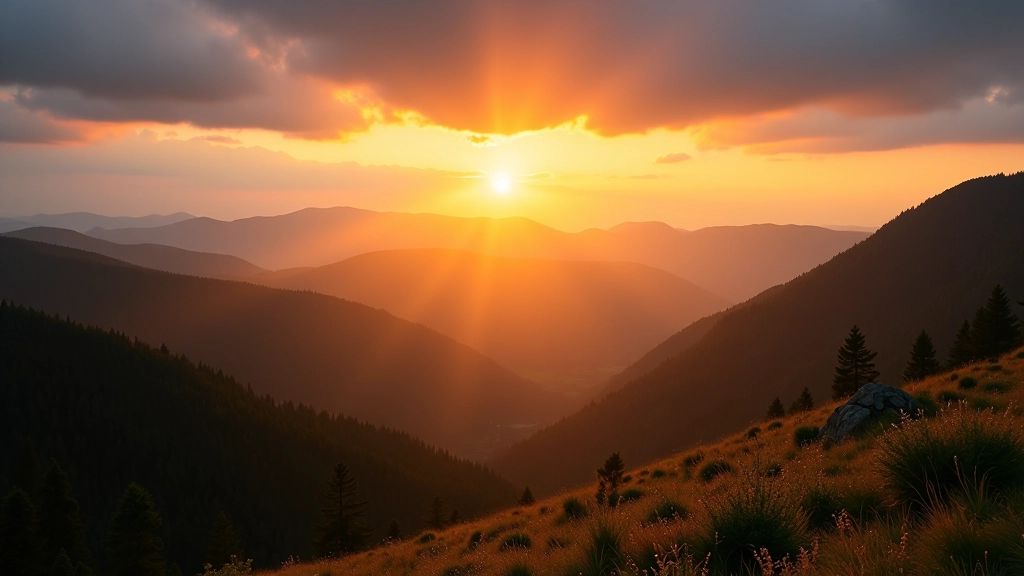
You don’t need to travel far or wait for perfect conditions. A 5-minute walk from a hiking trail in the Šumava region or Bohemian Forest will put you in front of countless opportunities. Spring and early summer are peak season when everything’s growing fast, but autumn brings different magic — spiderwebs covered in frost, decomposing leaves showing intricate patterns.
Finding Your Subjects
The trick isn’t spotting something — it’s moving slowly. You’ll miss everything if you’re hiking at normal speed. Slow down to maybe 50 meters every 10 minutes. Look under leaves, in tree bark crevices, on flower heads. Insects are most active during the middle of the day when temperatures are warmer.
Pro tip: Early mornings (6-8am) are best for finding subjects still wet with dew. Spiders, insects, and flower petals all look dramatically different with water on them.
Look for micro-ecosystems. A fallen log becomes a whole world — moss, fungi, small creatures, decomposition in action. Rotting wood is genuinely fascinating from a macro perspective, and it’s everywhere in forests. You’re not damaging anything by photographing it; you’re just paying attention to processes that happen whether you’re there or not.
Essential Gear That Makes a Real Difference
You can start with a smartphone macro lens (usually 10-15 EUR clip-on), but you’ll hit limitations pretty fast. Smartphone sensors are tiny, so depth of field becomes impossible to control. You’ll get frustrated when your subject’s eye is sharp but the antenna isn’t.
A dedicated macro lens changes everything. A 60mm or 100mm macro lens gives you actual magnification (1:1 ratio) and lets you work from 6-12 inches away. This matters because you’re not crowding insects or casting shadows on your subject. Canon EF 100mm f/2.8 or Nikon AF-S VR Micro-Nikkor 105mm are standard choices — you’ll find used versions for 300-400 EUR.
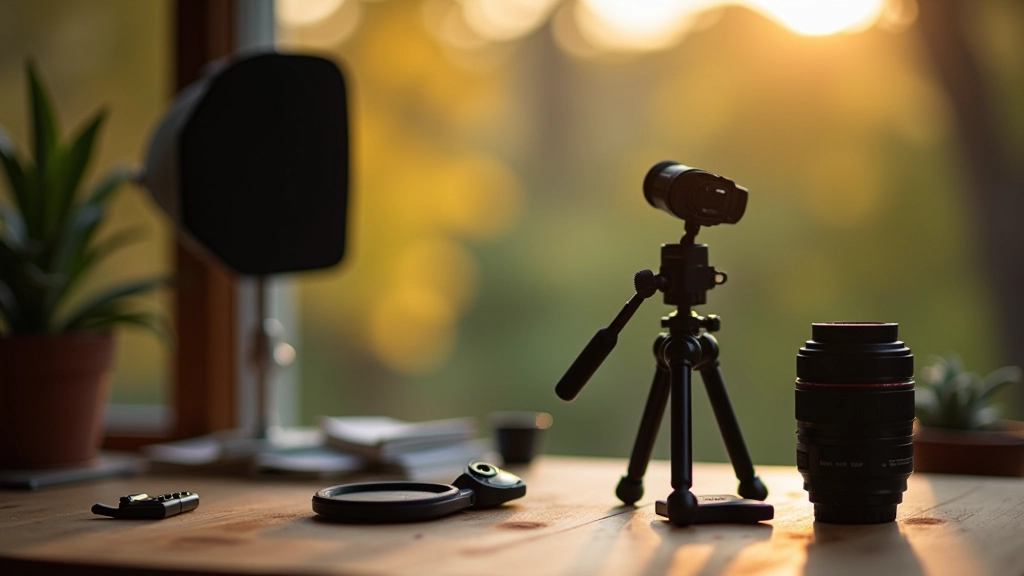
Macro lens: 60-100mm, 1:1 ratio minimum
Tripod: Small ballhead tripod, not a full-size one — you need precision movement
Focus stacking: Remote shutter release to avoid vibration, or use 2-second timer
Reflectors: White foam board (DIY) bounces light onto shadowed areas
Technical Settings That Actually Work
Here’s what you’ll learn pretty quickly: shallow depth of field is both your best friend and your biggest challenge. At 1:1 magnification, your depth of field at f/2.8 might only be 2-3mm. That’s incredibly thin. Your focus has to be spot-on.
Start with f/5.6 or f/8 if you’re new to macro work. You’ll sacrifice some background blur, but you’ll actually get your subject in focus. Shutter speed matters more than you’d think — wind moves leaves and insects. Shoot at 1/500s or faster to freeze movement, even on cloudy days.
ISO depends on your light situation. Midday in an open forest glade, you might use ISO 100-400. Deep under the canopy, you’re looking at 800-1600. Don’t stress about noise — modern cameras handle it well, and slightly grainy is better than blurry.
Making It Work in Forest Light
Forest light is inconsistent and often dim. You’ll have dappled sunlight, deep shadows, and everything in between within a few feet. This is actually good — you can use it creatively. Backlighting a dewdrop makes it glow. Side-lighting a flower shows texture. Front-lighting an insect shows colors.
The reflector is your secret weapon here. A white foam board (sold at art supply stores for 2-3 EUR) bounces available light onto your subject. You don’t need much light — just enough to illuminate what you’re shooting. Some photographers use phones with flashlights, but that looks artificial. Bounce light feels natural because it mimics what already exists around you.
Flash works, but it’s tricky with macro. The flash needs to be diffused (a small softbox) or positioned at an angle. Direct flash at close range burns out tiny subjects. If you’re serious about macro, look into ring flashes or macro flash brackets — they’re expensive but they solve the lighting problem completely.
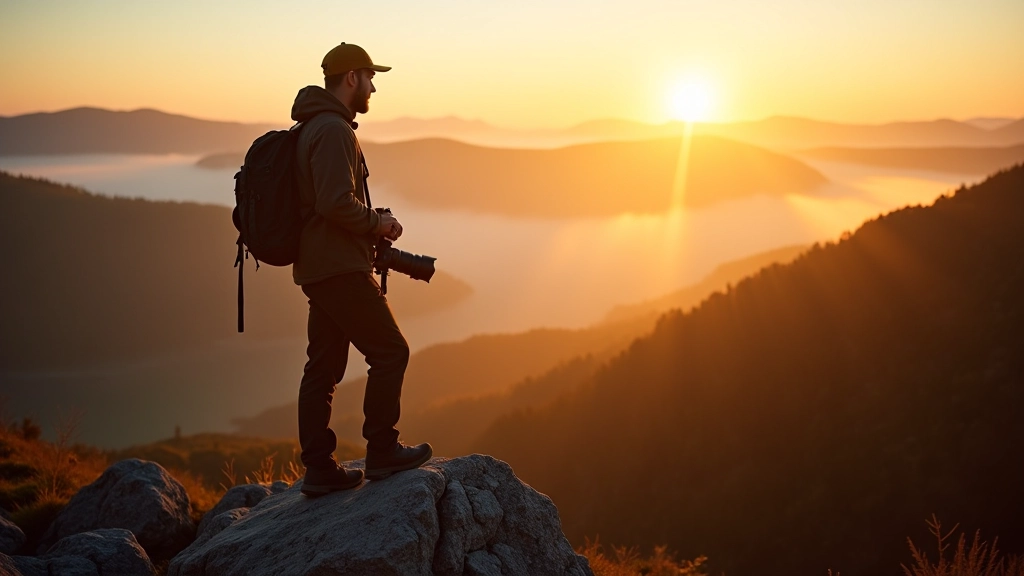
Start Small, Think Detailed
Macro photography doesn’t require expensive gear or distant travel. You can start with a clip-on phone lens and a local forest trail. What matters is patience and attention. The Bohemian forests have incredible detail waiting at your feet — frost-covered leaves, delicate insects, fungi in every color. You’re not looking for one perfect shot. You’re looking for dozens of small moments that make up the forest’s real character.
The best part? You’ll never see that forest the same way again. Once you start noticing the tiny details, you can’t stop. And that’s when the photography becomes genuinely rewarding.
Disclaimer: This article is for educational purposes to help you understand macro photography techniques and equipment considerations. Specific camera models and lens recommendations are based on common industry standards, but individual results vary. Always respect forest ecosystems and wildlife while photographing — observe from a distance, don’t disturb nests or dens, and follow local regulations in protected areas. Photography techniques described here are suggestions; your results depend on your camera model, skill level, and local conditions.